
Most single-board computer users often wonder how to screenshot on Raspberry Pi.
You likely want to document your work if you are in this position.
You may also want to show off the programming skills you’ve learned to your friends.
Capturing your Raspberry Pi screen isn’t complicated. You can choose from two primary methods based on what you need.
Table of Contents
- How to Screenshot on Raspberry Pi: Techniques to Consider
- How to Screenshot on Raspberry Pi: The Screenshot Commands You Can Use With Scrot
- Screenshot Tricks You can Combine with Scrot
- 2. Using GNOME
- How to Install GNOME Screenshot in Your Raspberry Pi
- How to Create a GNOME Screenshot Keyboard Shortcut
- FAQs
How to Screenshot on Raspberry Pi: Techniques to Consider
Capturing a screenshot with your Raspberry Pi gives you a high-quality image.
Such makes it easier for people to understand you when seeking help on various tasks.
Likewise, you can document an entire process when helping someone else.
Let’s dive deeper into how to screenshot on Raspberry Pi.
1. Using Scrot
Taking screenshots using Scrot is pretty straightforward. This minimalistic program will facilitate Print Screen.
It lets you use it in many ways with your RPi. For example, you can use hotkeys and commands.
You may also activate shortcuts to take a screenshot.
The latest Raspberry Pi versions often come with Scrot. Hence, there’s no need to install the software.
You can check if your RPi has Scrot with your terminal command window.
If your Raspberry says ‘command not found,’ you can install Scrot.
Once your RPi is ready, you may take screenshots.

Keyboard shortcut
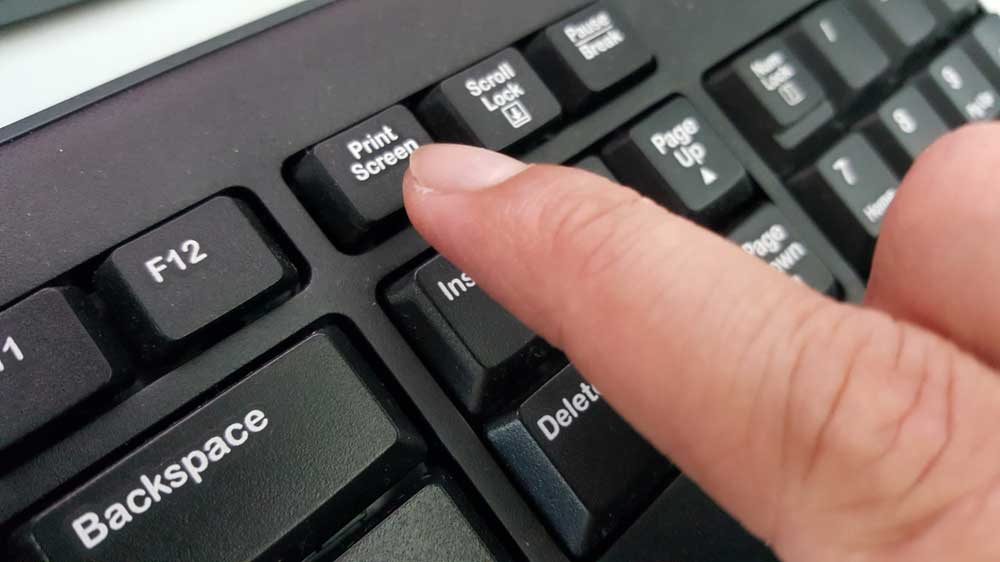
a. Use the Keyboard Hotkey.
The Print Screen Key lets you screenshot on your Raspberry once you have Scrot. Go to the screen you want to grab. After that, press the Print Screen button once.
You may then find the screenshot in the /home/pi directory. This is the home folder on your Raspberry Pi.
All the screenshots you take using the keyboard shortcut are easy to trace.
They will always have the suffix Scrot at the end of the file name. Besides, they include the date and time you took them.
b. Use the Terminal Window
The terminal window is an easy way to take a screenshot with Scrot.
You only need to enter the command Scrot. After you do this, you’re good to go. You can find the image in your home folder.
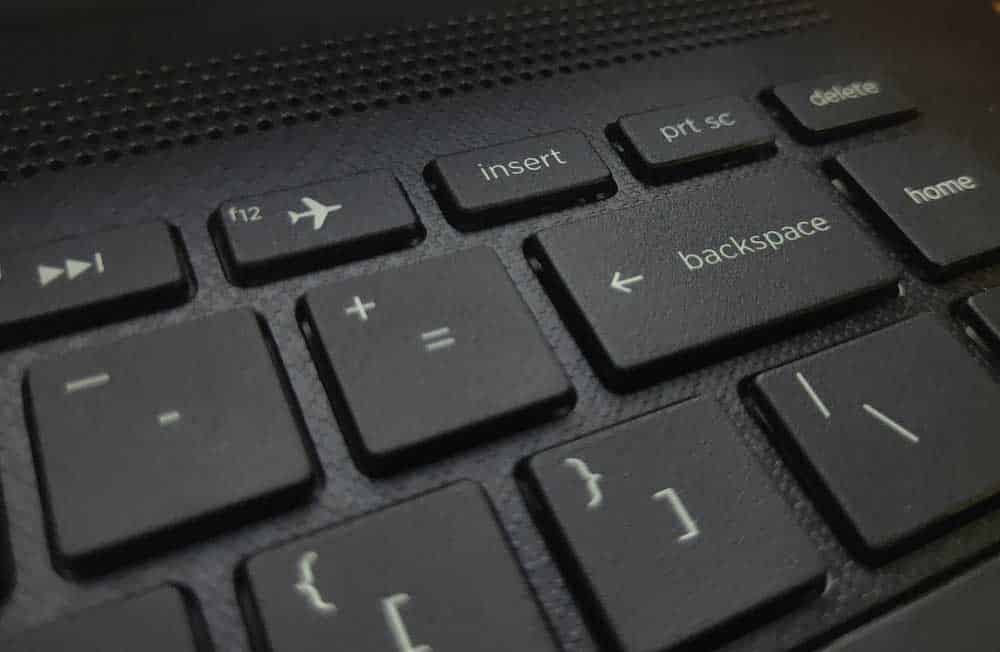
Keyboard showing Prt sc key.
How to Screenshot on Raspberry Pi: The Screenshot Commands You Can Use With Scrot
Capturing your screen with the hotkeys is pretty easy. But it doesn’t always work.
Sometimes, you only want to take a partial image of your work.
If you are in such situations, there’s a good solution. Raspberry Pi lets you set up the process manually.
A delayed screenshot lets you capture your Raspberry screen only.
Hence, you won’t see the menu in the picture. When you delay the process, you can quickly close the menu and capture the screen.
Use Scrot -d 5 to delay a screenshot. The waiting period is often 5 seconds, but you can always change it.
Commands running on a computer
More commands you can use when capturing your screen are:
- Command scrot -e: It lets you give a different command after you capture your screen
- scrot -h: This command will show the additional help window
- Command scrot -u: You can capture the window you are using at the moment
- scrot -v: The command lets you display the existing Scrot version
Renaming your screenshots makes them easy to find. So does use a custom location.
Use a different file name by putting it after the word ‘scrot.’
Let’s say you want to name your file gamer. Besides, you want to store it in the downloads.
The command you can use is: ‘scrot /home/pi/Downloads/gamer.png.’

File folder concept
Screenshot Tricks You can Combine with Scrot
Scrot is great for taking screenshots of your RPi. But there are some ways you can use it to get better results.
Let’s discuss some of them.
a. Run the Scrot Command While Doing Other Things
Let’s say you want to screenshot something that will need about 20 seconds to compile. In this case, you can use the command scrot -u -d 20.
This entry will ensure the terminal waits 20 seconds. After that, it will execute the following command.
Sadly, this can waste your time.
Adding ‘&’ to your command will help you avoid this issue. Use ‘scrot -u -d 20 &’ instead of ‘scrot -u -d 20’.
This way, your RPi will run other things in the background. You won’t need to wait for long to do other tasks.
Computer with several tabs open
b. Clear Your Screen
Do you find the scrot command annoying in your screenshots?
You can delete it with the ‘clear’ command. If you do this, your window will only show your desired content.
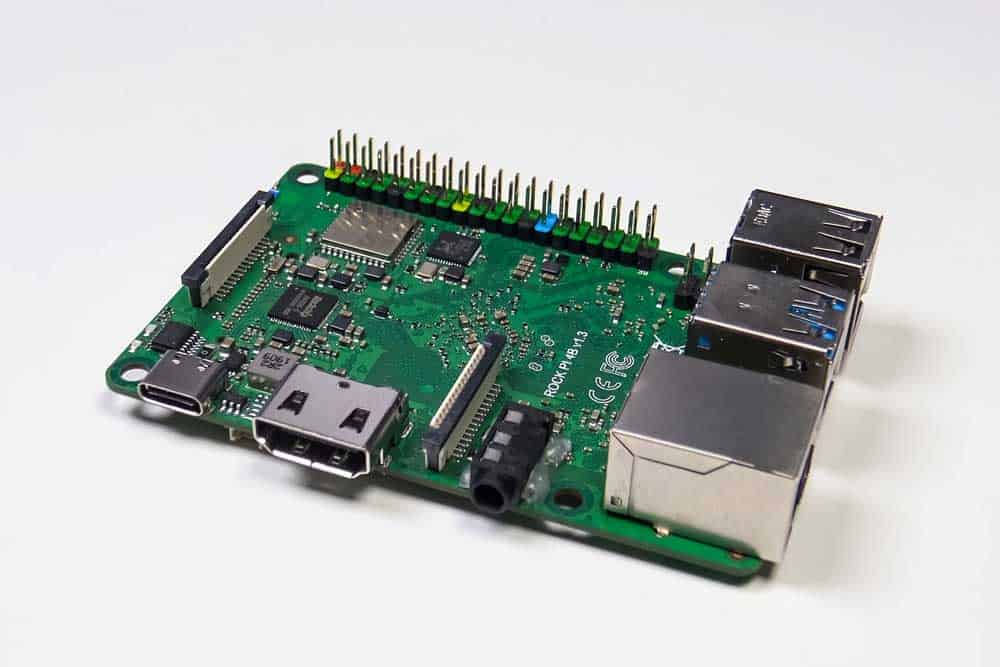
A minicomputer
2. Using GNOME
GNOME is a desktop environment in Linux. It’s perfect for taking screenshots on your RPi. This method is relatively easy since you will use the graphical user interface.
If you’re questioning how to screenshot on Raspberry Pi, install GNOME. Once you do this, click the RPi menu icon.
Then visit ‘accessories,’ followed by ‘screenshot.’ A GNOME screenshot window will open. This one will give you three options.
First, it can let you screenshot the whole screen. Second, you can grab the current window only.
The last mode lets you pick what to screenshot.
GNOME will ask you to specify what you want to capture when you select it. You can always use a mouse or touchscreen for this.
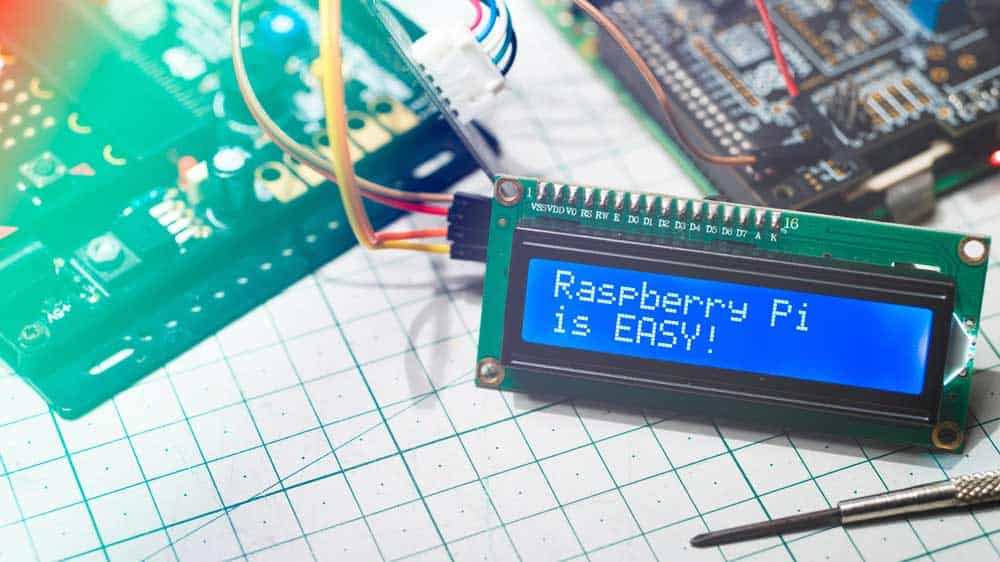
Screen displaying Raspberry
GNOME Screenshot also lets you take delayed captions. You can always choose the waiting period.
Likewise, it’s possible to add some effects. These are the border window and the pointer.
Once you take a screenshot with GNOME, you can do two things.
The first one is to save it in your RPi. The second is copying it to your clipboard. Copying the file is convenient if you will only use it once.
On the other hand, saving it provides a future reference.

Save button on the monitor
How to Install GNOME Screenshot in Your Raspberry Pi
If you have an older RPi model, you need to install GNOME to use it for taking screenshots.
The first step is to update your Raspberry Pi packages. These will come with the latest version of the GNOME Screenshot.
Once you have the packages, you can run this command for installation- ‘$ sudo apt install gnome-screenshot -y’.
How to Create a GNOME Screenshot Keyboard Shortcut
GNOME can be frustrating for users at times. Once you save a picture, the app automatically closes.
Hence, it would be best to reopen it to take more screenshots. This process can be a headache when documenting a lengthy task.
Fortunately, you can use GNOME without worrying about this issue.
Still, it would be best to have a shortcut to launch the tool with your keyboard.
Raspberry Pi lets you assign any key combo to GNOME Screenshot.
For example, you can replace it with the keys you use to launch Scrot. If you do this, the Prt Sc button (Print Screen) will launch GNOME instead of Scrot.
Finger pressing print screen command.
FAQs
Which utility will I use to take screenshots on Raspberry Pi?
Scrot is the in-built utility you will use when taking screenshots on your RPI. The tool will save PNG files in your home folder, but you can always place them elsewhere.
Why does the Prt Sc key fail to work when using Windows OS?
Your print screen key may fail to take screenshots for various reasons. For example, you may have an outdated OS driver. Additionally, you might be using the wrong keyboard driver.
System crash on computer
Bottom Line
Using a single-board computer might be confusing at first. But, with the right resources, you can learn how to screenshot on Raspberry Pi and other things.
If you are having trouble capturing your screen, don’t be afraid to ask for tips. Raspberry Pi has an extensive community on the official page.
Besides, most of its users share brilliant ideas on other platforms.
Visit our page today for more Raspberry Pi tips.