
Are you scratching your head over how to access Raspberry Pi SSH? You may have just bought Raspberry Pi to run as a server for your home network.
But now your biggest worry is time to operate it via your computer mouse and keyword.
Don’t worry; we will show you how to SSH into your Raspberry and even guide you on adding SSH files and managing them.
Table of Contents
- What is SSH?
- How to Access Raspberry Pi SSH: Step By Step Guide
- How to Add SSH File to Raspberry Pi
- Final Thought
What is SSH?
SSH (Secure Shell) is a network protocol allowing users to access a remote computer securely. Many developers, Network Administrators, and programmers use it to access Desktops, Linux servers, and other devices remotely.
Ideally, it offers a secure connection between two computers and encrypts the data exchanged between them.
How to Access Raspberry Pi SSH: Step By Step Guide
Accessing Raspberry Pi can be simple if you follow our step-by-step guide. For a better experience, use Raspbian, an OS exclusively developed for Raspberry Pi.
Before you turn on your SSH, you must ensure your Raspberry Pi is secure. Then connect your Raspberry to a network via WiFi or ethernet. Otherwise, you cannot connect to your Raspberry via SSH.
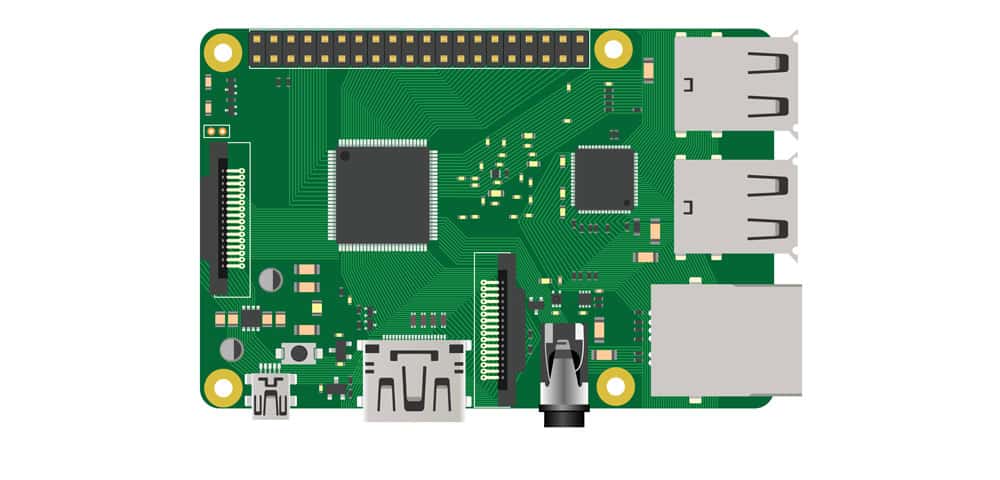
Raspberry Pi microcomputer top view
Step 1: Enable SSH on Raspberry Pi
The first step in accessing Raspberry Pi SSH is to enable it on your Raspberry Pi. By default, designers disable SSH on the Raspberry Pi for security reasons.
This is mainly if you installed the 2016 Raspbian versions onwards. But even some early versions, such as Raspbian Stretch, Raspbian Jessie, and Raspbian Buster, have their SSH disabled.
Enabling SSH is a straightforward process. However, the process slightly differs depending on whether you will allow it via a terminal or desktop.
To enable it via terminal:
- Connect your Raspberry Pi to a monitor and keyboard, and then open the terminal by pressing Ctrl + Alt + T.
- Open the Raspberry Pi Configuration tool by entering the following command in the terminal:
sudo raspi-config
- Use the arrow keys to navigate to “Interfacing Options” and press Enter.
- Navigate to “SSH” and press Enter.
- Select “Yes” to enable SSH.
- Press Enter to confirm.
- Select “Finish” to exit the Raspberry Pi Configuration tool.
Enabling SSH on Raspberry
Step 2: Find the IP Address of Raspberry Pi
You can use several Linux commands to search for a Raspberry IP address. In most cases, they are an IP address that looks like 10. x.x.x. Or 192.168.x.x.
You can find the IP address of your Raspberry Pi by typing the old ifconfig command or IP address. These will display the list of all active network adapters and their configurations.
If you use ethernet to connect Raspberry to a network, it is under ‘ethO’. If you use WiFi, check the first entry under ‘wIanO.’
However, there are other means you can use to find the Raspberry IP address. The most common is checking the network device list on your router or modem.
Step 3: SSH into Your Raspberry Pi
You will need a username or password to SSH into your Raspberry Pi. You can use the default one (username: pi, password: Raspberry) or the new one if you change yours.
Ideally, changing your password for security reasons would be best. Raspberry Pi devices have a history of malware attacks.
Your Raspberry Pi will prompt you to change your user account password when you set up Raspberry Pi. Simply open the terminal and click the password command.
Enter your default password then you will see an option to choose a new one.
In your command lineup, key in your new password, then press enter.
If you didn’t change your password, you would enter ‘ssh pi@raspberrypi.’ If you change the default password, you will enter something like ‘ssh [email protected]’, where 192.168.X.X is your Pi’s IP address.
You only type the password when you see the prompt.
That is how to connect raspberry pi ssh. Congratulations!
How to Add SSH File to Raspberry Pi
You can add SSH files to your Raspberry Pi using Secure File Transfer Protocol (SFTP). This is simply a protocol that offers secure file transfer over a network.
In addition to transferring the file, you can also use it to browse, change, and edit your Raspberry files.
By default, the SFTP server is enabled in Raspbian, but you’ll have to install an SFTP client on your computer to access it. The most popular and reliable SFTP client that you should install is FileZilla.
Simply download FileZilla, install it, and start it. I(n the FileZilla window, key in your device IP address followed by your Raspberry Pi username and password.
Enter port 22, then click Quickconnect. This will establish a connection. You can now add SSH files remotely.
Final Thought
Accessing Raspberry Pi via SSH can provide a convenient and secure way to manage your device remotely. Once your Pi establishes a network connection, you can access it from another computer and execute commands.
This includes even adding SSH files to your Raspberry Pi and managing them.