
Where to Plug in Raspberry Pi Fan? Each single-board computer has a certain temperature range where it works effectively. Unfortunately, some heavy tasks can lead to heating.
This issue then results in poor performance. Many Raspberry Pi users deal with overheating, especially when they have big projects. If you have such an issue, you may wonder where to plug in the Raspberry Pi fan.
Continue reading to learn how to connect a fan to your minicomputer.
Table of Contents
- Which Raspberry Pis Need a fan?
- Where Are the Fan Pins on the Raspberry Pi?
- How to Connect a Fan to a Raspberry Pi
- Connecting Your Raspberry Pi to a Fan Without a Heatsink
- Connecting Your Raspberry Pi to a Fan With a Heatsink
- Testing the Fan
- FAQS
Which Raspberry Pis Need a fan?
Most Raspberry Pi models may need a fan if you use them for a long time. However, it might not be necessary if you only use the single board computer for basic tasks.
Raspberry Pi 4 has some impressive features. It’s about three times more powerful if you compare it with other models. Sadly, a higher capacity means that the device uses more power. In return, it generates more heat.
If you use Raspberry Pi 4, you might always need a fan. This model generates a lot of heat even when it’s idle. Luckily, connecting it to a fan can avoid costly repairs. Moreover, it saves you from replacing the parts early.
Where Are the Fan Pins on the Raspberry Pi?
An RPi comes with a pin header at the top edge. Most models have at least 26 GPIO pins for connecting to other devices. Hence, you may wonder where to plug in the Raspberry Pi fan.
If your board is heating badly, use the 5V GPIO pins. These will allow your fan to spin quickly. But, it will likely produce noise which some users find annoying.
If your Raspberry Pi isn’t producing a lot of heat, use the 3V pins. The fan will spin less quickly compared to when you use the 5V pins. Still, you won’t use much energy. Likewise, you almost won’t hear the fan spinning.
Raspberry Pi doesn’t have specific pins dedicated to connecting a fan. You can always use the 5V or 3V ones based on how much cooling you need.
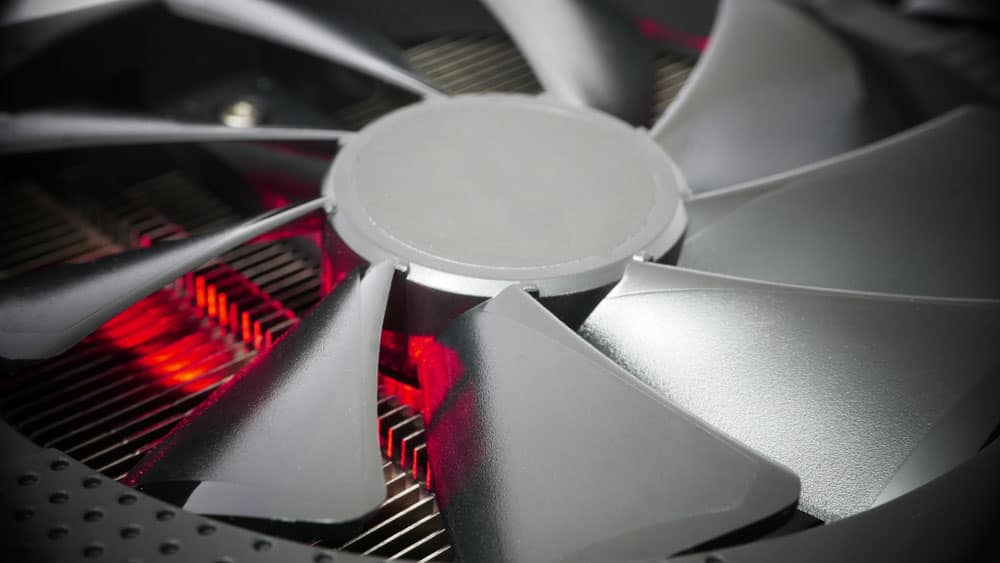
Fan blades cooling graphics card
How to Connect a Fan to a Raspberry Pi
You can connect your RPi to a fan with a heatsink or one without. Often, the best option for you may vary based on different factors. Such are:
- The type of Raspberry Pi you have
- Your budget
- Your cooling needs
The process of connecting each fan differs from the other. Let’s dive more into how and where to plug a Raspberry Pi fan into both options.
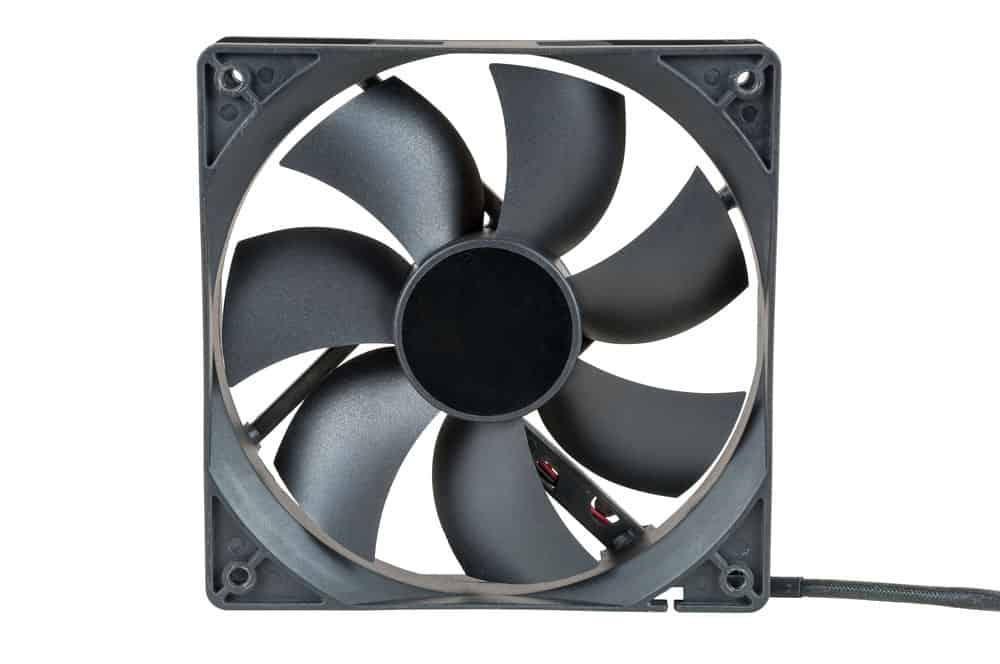
A fan without a heatsink
Connecting Your Raspberry Pi to a Fan Without a Heatsink
A fan that doesn’t come with a heatsink might be tricky to connect to your RPi. First, bolt the four fan screws on the board. This helps you keep the two devices in contact for effective cooling.
However, it’s important to ensure you drill on the part that doesn’t have ports or pins.
Once you’re done fixing the fan on the board, it’s time for the connection. Fans come with two cables, often a red and black one. The red wire carries power, while the black one is for grounding.
Connect the red cable to a 5V or 3V GPIO pin on your Raspberry Pi. Afterward, find a ground pin on the board and link it to the black wire.
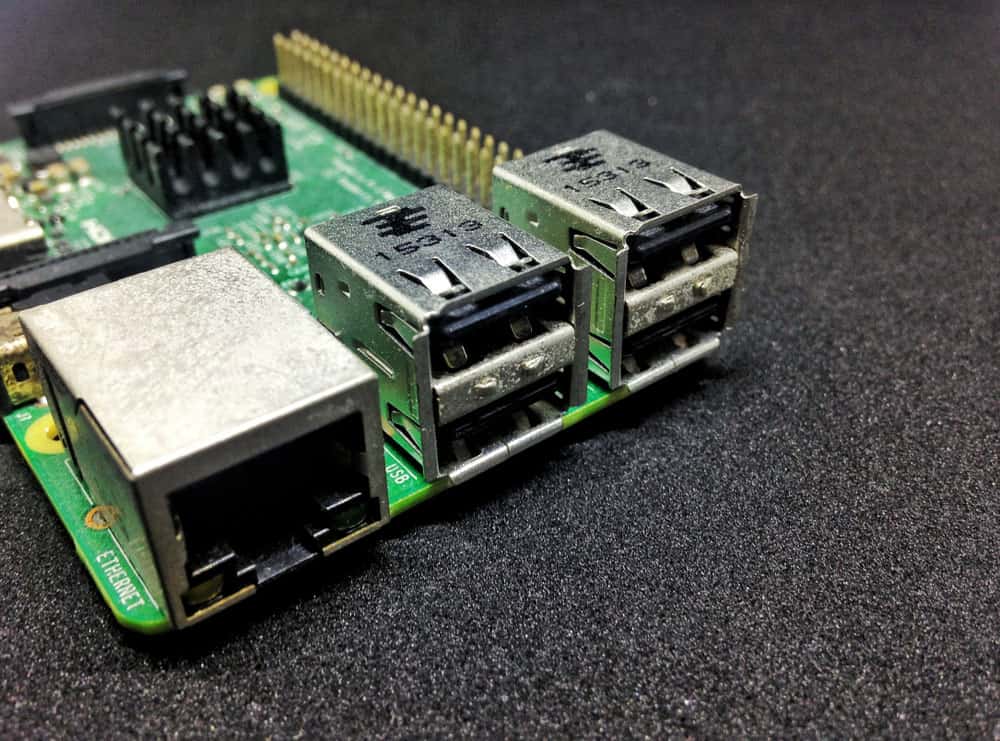
USB ports on a board
Connecting Your Raspberry Pi to a Fan With a Heatsink
Using a fan with a heatsink is pretty easy. Most types come with a thermal adhesive on the backside. The top of your Raspberry Pi can be dusty and greasy. Hence, we advise that you wipe it down before installing a fan.
Once you’ve done this, peel off the protective film on the fan. Then, place the heatsink on the board while applying gentle pressure. When the thermal adhesive sticks, you can connect the ground and power wires to your RPi.
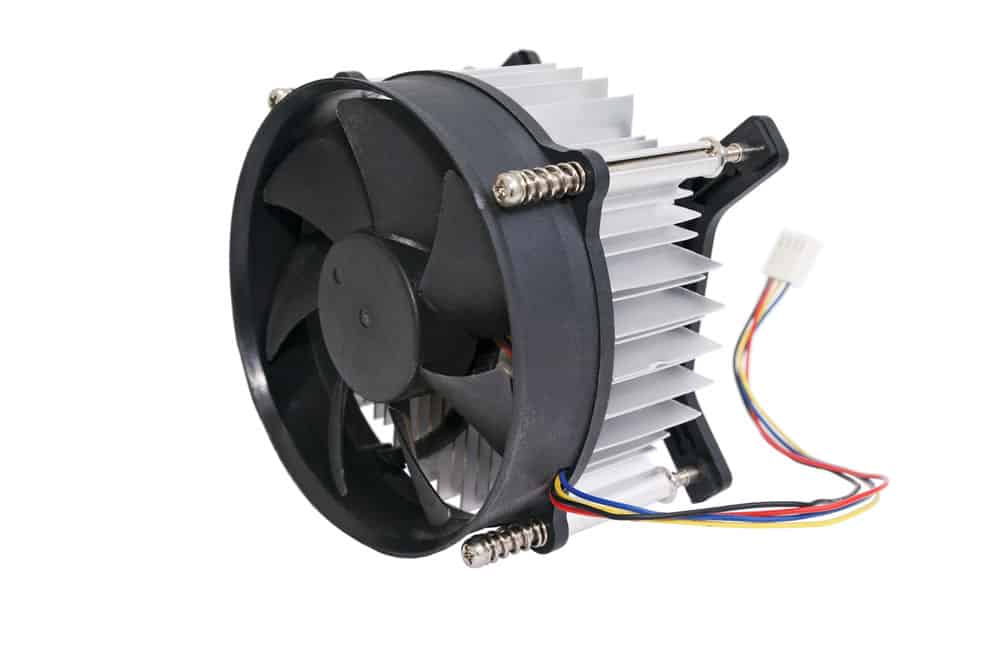
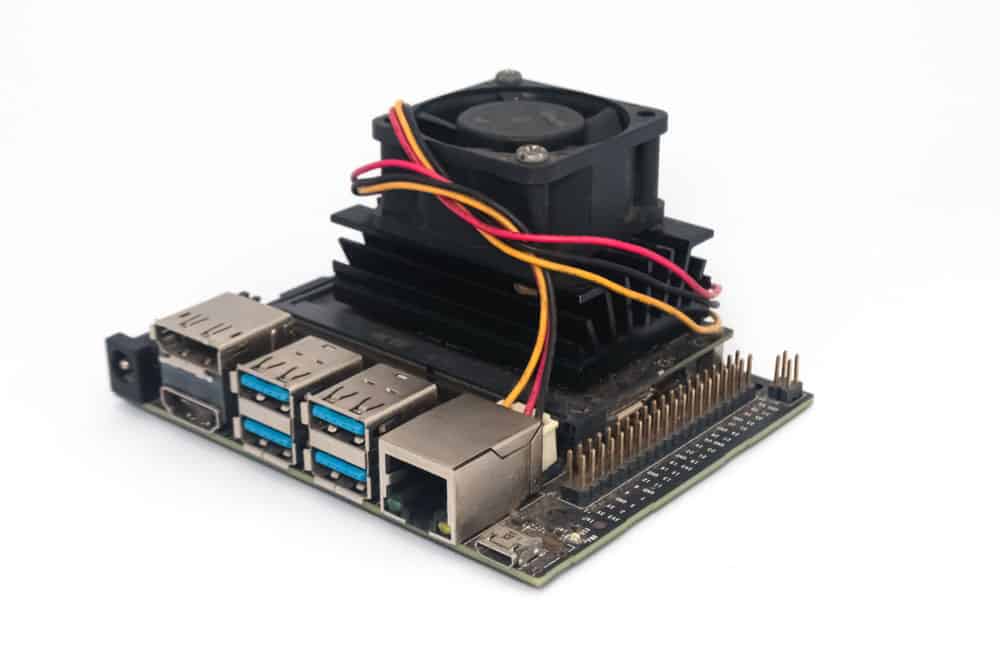
A fan with a heatsink
Testing the Fan
Now that we’ve covered where to plug in a Raspberry Pi fan and how to do it let’s get into testing. Ideally, do this before soldering anything on the board.
Begin testing by switching your RPi on, then check if the fan is spinning. If not, you can push it slightly in the counterclockwise direction with a needle or pen.
A fan should start spinning immediately after you power on your RPi. However, it may take some time if you are using the 3V power pins. If your fan doesn’t work completely, check the circuit to ensure everything is in place, and test again.
Soldering iron on a board
FAQS
How do I attach a fan to a Raspberry Pi 4 Case?
A Raspberry Pi 4 case allows you to use a fan with more convenience. For installation, clamp the fan on the cover without much force. Then, mount it using bolts and nuts.
The next step should be connecting the wires and testing if the fan works. Finally, mount the fan and top cover to the bottom part of the case.
Can You Use the 3.3V pin to plug in a Raspberry Pi fan?
Yes. The 3.3V pin provides enough power to run a fan with your RPi. Still, it might not be sufficient for a model like Raspberry Pi 4. This is because the model requires more cooling, and your fan will be more effective when connected to a 5V pin.
A fan on a minicomputer
Summary
Cooling your Raspberry Pi optimizes performance. Likewise, it prevents damage, increasing the lifespan of your device. Connecting your RPi to a fan isn’t complicated.
Thus, your device will work well regardless of your type using the proper GPIO pins.
Visit our blog today for more guidance on optimizing Raspberry Pi performance.