
How to Back up Raspberry PI, Raspberry PI may be one of the best SBCs on the market, but it’s not immune to crashes and failures.
Such events can be disastrous, especially when you don’t have a backup.
Luckily, you don’t have to think too deeply about how to back up Raspberry PI because there are many solutions.
You can use up to three methods to ensure you have copies of all your essential files.
The best part is these techniques are straightforward and hassle-free–even a beginner can do it effortlessly.
However, you must be careful when backing up to avoid mistakes that lead to a complete reinstall.
But don’t worry.
This article will show you everything you need to successfully back up your Raspberry PI.
Table of Contents
What can Cause Raspberry PI Failure?
Man working on a Raspberry PI board
One problem that can lead to a potential data loss on Raspberry PI is a corrupted SD card. It’s a thorn in the average programmer’s side that often demands a backed-up copy.
However, corrupted SD cards won’t be an issue if you have one with designs that enable regular writing.
Also, it’s surprisingly easy for older models to develop faults, leading to operating system or boot failures.
So, we recommend using a high-rated SDHC card for your Raspberry PI, which should be 2GB minimum.
Using the SDHC for your Raspberry PI is like using an SSD for a high-end ultrabook or tablet PC–it’s that resilient.
Nevertheless, other ways can lead to corrupted data regardless of your preferred SD card format.
For instance, removing the SD card while the PI board is active is one way to end up with lost data or a damaged SD card.
Like Windows PCs, you should only remove storage devices when it’s safe, like when the Raspberry PI is inactive.
In addition, turning off the Raspberry PI wrongly may also corrupt the loaded operating system.
Also, you must shut down your Raspberry PI properly through the desktop GUI option or by entering the following commands in your command line:

How Can you Backup your Raspberry PI?
In the event of a corrupted SD card, it always helps to have a backup.
Why? It will relieve some frustration and prevent you from losing all your files.
You can use three methods to back up your Raspberry PI’s SD card to counter potential data corruption.
But before we get into that, here are the components you need for the processes.
- Raspberry PI
- Micro SD card (SDHC recommended)
- Power supply
- SD card reader
Method 1: Copy your SD Card’s Image File
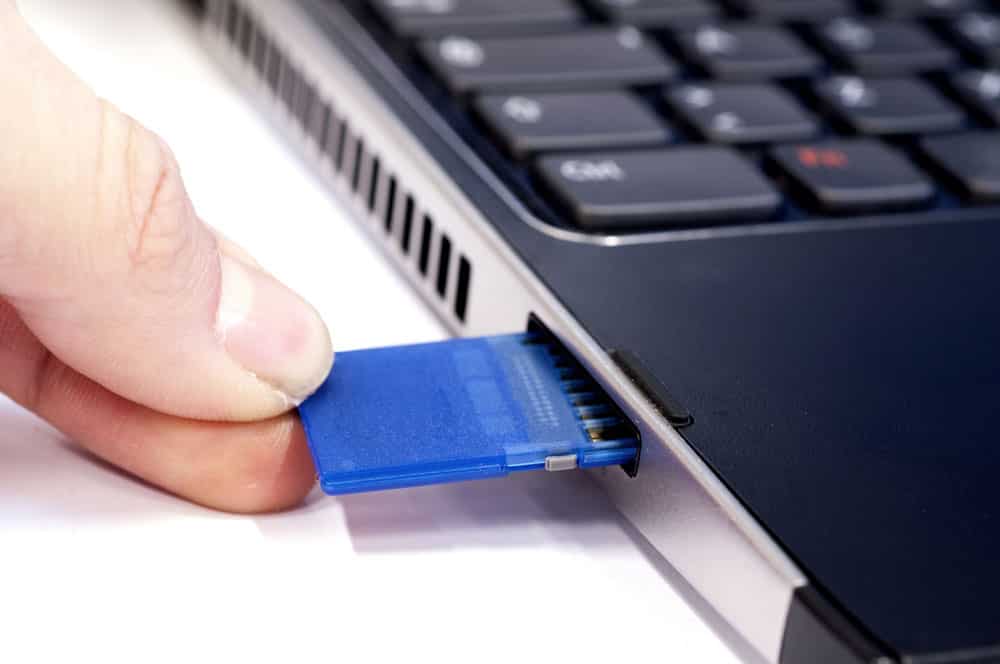
Hand inserting blue SD card for backup
Let’s start with the easiest backup method. Usually, it involves making a copy of the SD card as a single image file.
Although it sounds straightforward, copying your SD card’s contents as an image file is the opposite of OS flashing.
While flashing unpacks the OS files and makes them compatible with the PI, this method packs everything into one image file.
What’s more? You can restore the files whenever you need the backup.
You can follow the next steps to learn how to create a complete SD card backup image:
- First, switch off the PI and take out the SD card. Also, remember to place it in a card reader or adapter before plugging it into your PC.
- For Linux or Mac, open the terminal window and input. Then, examine the drives that pop up.
Note: If it doesn’t detect your SD card, try unplugging and replugging it till it shows on the screen. Then, input the above command again.
- Next, you should see a freshly mounted drive. For instance, Linux systems will show /dev/sda, while MAC models may be /dev/rdisk2. Again, remember that the names may vary so ensure you check carefully.
- If you have a Linux system, use the following command:

For MAC, type the command below:

These codes will create an exact copy of your SD card’s image file, allowing you to restore your corrupted operating system.
Note: You can restore the backup image file using the dd command in reverse or relying on tools like Etcher to complete the flashing process.
- Use the Win32 Disk Imager software to back up your SD card for Windows. All you have to do is download, install, and launch the program.
- Then, click Yes on the security alert dialog box and select the device at the top right corner.
- Next, input C:/rasberryexpert.img in the Image File text box and select Read (You can use any name you prefer).
- It should start the process and write the entire SD card into an image file. If it shows “Read Successful,” your backup is complete.
Method 2: Zip the Home Directory
Although the first method is easy, it has a significant flip side: the need to create frequent backups.
As a result, the process will require constantly removing the SD from your PI and inserting it into your PC and vice versa.
However, this second method eliminates the repetitive process, allowing you to back up your Raspberry PI OS without removing the SD Card.
Further, it involves backing up the home folder as a compressed file.
And extracting the compressed file allows you to restore every backed-up directory. Here’s the command you need for this method:

The code will create a file titled “pi_home.tar.gz.” Also, you can copy it to any external storage device to make even more backups.
Note: Method two is the go-to for backing up your Raspberry PI while active.
Method 3: Scheduled Backups
What if you don’t want to do the backup yourself? Thankfully, you can set up an automatic process with this method.
The best part is it’s also an easy process. You can use the free Deja Dup software to schedule your backups.
Alternatively, you can use the manual route by setting the tar command as a cron job.
However, we recommend using the program because it creates backups over remote networks and sends them to cloud storage with FTP, Google Drive, SSH, or Amazon S3.
Also, you can copy the files to external storage devices.
Moreover, the program allows you to choose folders you want to back up, making them easy to restore.
Deja Dup comes pre-installed on Ubuntu OS, but you can easily install it on Raspberry PI OS with the following commands:

After issuing the commands, open a program titled “Backups.” You can find it by navigating to Menu > Accessories.
Next, select the folders you want to save and change the storage location from Amazon S3 to your external storage (unless you want cloud backup).
Note: Select “Home (PI)” before creating the backup. And you can exclude the rubbish bin directory.
After the first backup, you can easily set the time for the next automatic one.
To do this, change the “OFF” option to “ON” and select “Scheduling” to choose your preferred frequency (daily or weekly).
Wrapping Up
Data loss can result from total system failure or data wipeout. In such cases, you can quickly restore the backup files from the above methods.
All it takes is to plug your external storage into the PI and navigate to “Backups.”
Then, choose “Restore” to reinstall any missing folders and files before selecting your flash drive.
Next, examine all your backup options and choose your preferred date.
Afterward, you can return everything to its default location or place it in a new folder.
Do you have more questions? Don’t hesitate to reach us; we’ll gladly help.